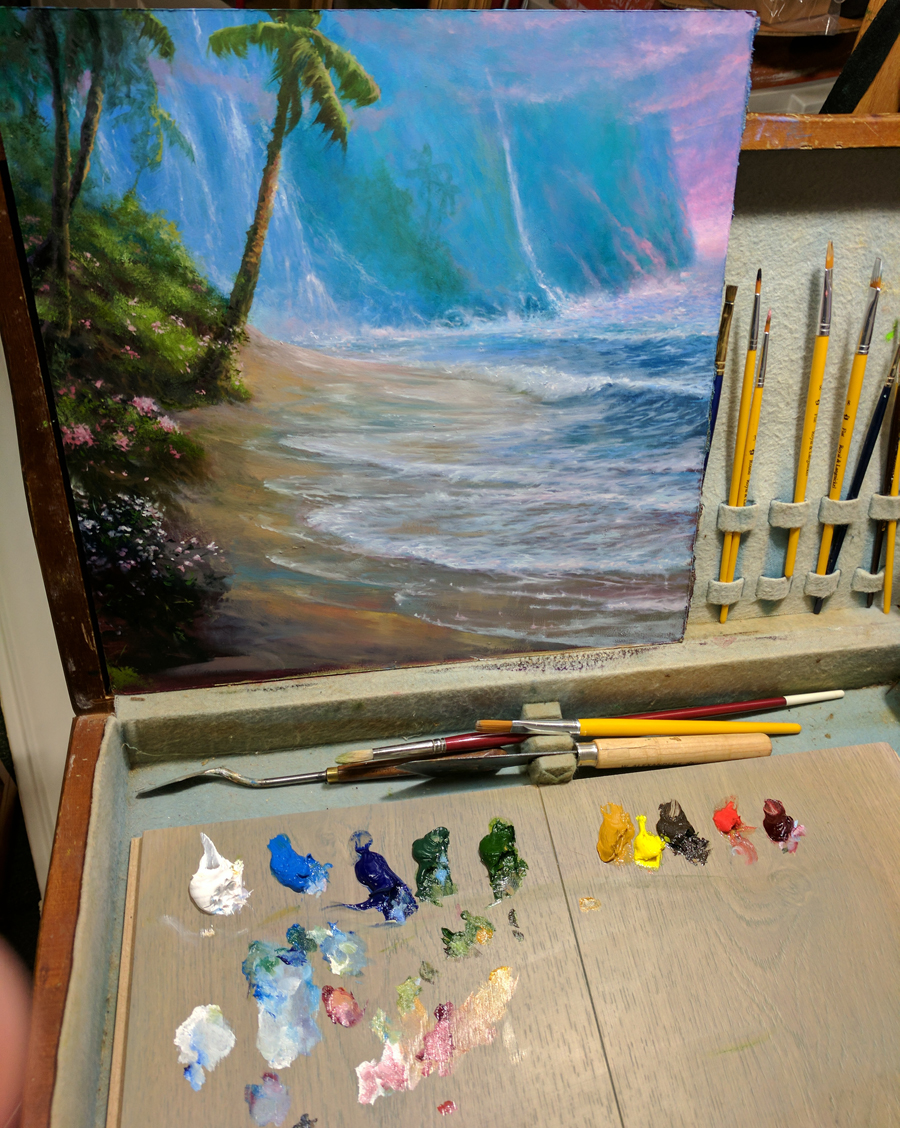
 I have really enjoyed using an old silverware box I picked up at a garage sale as my portable easel. It even has handy brush holders built right in!
Paint box from an old Silverware Tray

Artist
I have really enjoyed using an old silverware box I picked up at a garage sale as my portable easel. It even has handy brush holders built right in!

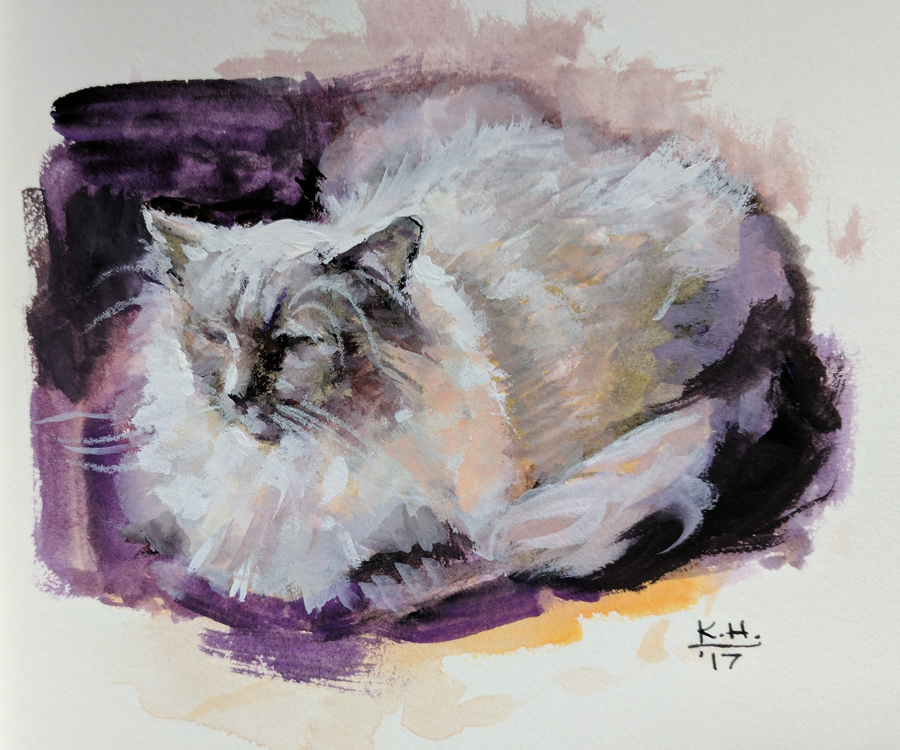
Mr. Molesly is a great big cat, and like most cats, he likes to nap. I have just enough time to capture a quick paint sketch in gouache paint (I used white, black, yellow, orange, and purple). He moved his head a few times, and when he would move,I would concentrate on painting other areas such as the tail or background until his pose was returned to the one I was trying to portray. All in all, I think painting from life captures the essence or spirit of the subject in a way that painting from a photograph never could.

 Not talking color theory, or about “mud” (when control is lost over the painting and warm and cool is in the wrong place). I’ll just share how I painted this picture out of my imagination, and painted the really warm next to the really cool colors.
The most important thing I have learned along the way is use separate brushes for warms and cools. Imagine an old public service announcement with Uncle Sam holding up two brushes and saying, “keep them separate.” Even if you wash them with thinner, there will still be residue color left and the brush is, what I call, “compromised”. I keep two or three of every size brush. I will share the brushes I use in a future post.
I have a very intense warm light from the sun, coming in from the back left area of the picture, where it is breaking through the storm. I could just have made the opposite side very dark shadows, but the figure might get lost in the dark background, so the other option is to push the colors very cool. I also noted to bring the very warm light through the mantle on the other side, and make the hair a more reddish as it would be warmer from the light as well.

 Up until now, I have worked only with acrylic paint, this enables it to be completely dry when I paint on top. Allowing me to finish this painting from start to finish in one week.
The top of the picture looks very bare, so I start blocking in the tree. The great thing about art, as compared to photography, is that in a photo this tree and figure would be almost entirely silhouetted against a sunset. In a painting, I get to control the light, making it appear that much more colorful.
Trees are painted in steps, a block in for the leaves furthest away, then put in the branches, then put leaves nearest on top, and that’s basically it. The trunk, I just think in terms of where that core shadow is and what the temperature is, it’s will be cooler than everything else, but avoiding purple, or it would get to out of control. I stay with earth tones and greens.
 After the tree is established, but not finished, I move on to the figure of Jesus, or the focal point of the picture. I like to get the focal point done as early as I can, because everything will relate to that part. I have to be careful to choose contrasting colors, but not too “cool” for the clothing, and not too dark, but enough so it stands out from the light background. Nice neutrals against the high croma works both with contrast and makes the background appear brighter.
 At this point I need to work on the bottom or nearest foreground as well, adding in the shadows as well. I know in the lower left I will add flowers, so I can save that for later in the process.
 The background is painted, the buildings in the distance, the stairs behind the tree, all add to give the illusion of depth by overlapping. More texture is given to the grass around the base of the tree, as well as figure in the foreground are painted. I have two sets of brushes, one for “polished” brushwork, and some I call “scumblers” for grass and texture.
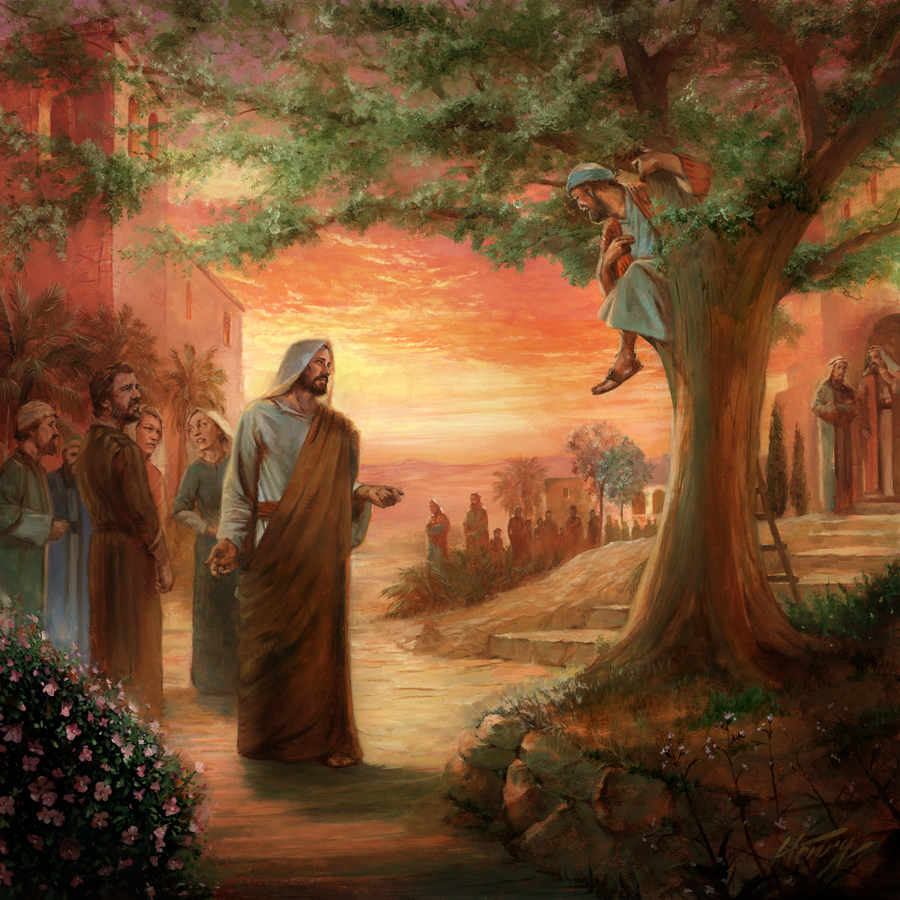
In the final stage, you can see I added the foreground flowers, to further push the scene into the painting, and add a few highlights as needed. The colors turned out nicely but I can’t sit around and stare too much or I would want to change something, so I move on to the next picture! Click on the image for a larger look and thanks for reading. If you like this post feel free to follow me on instagram: kyle_henry_art
Best,
Kyle

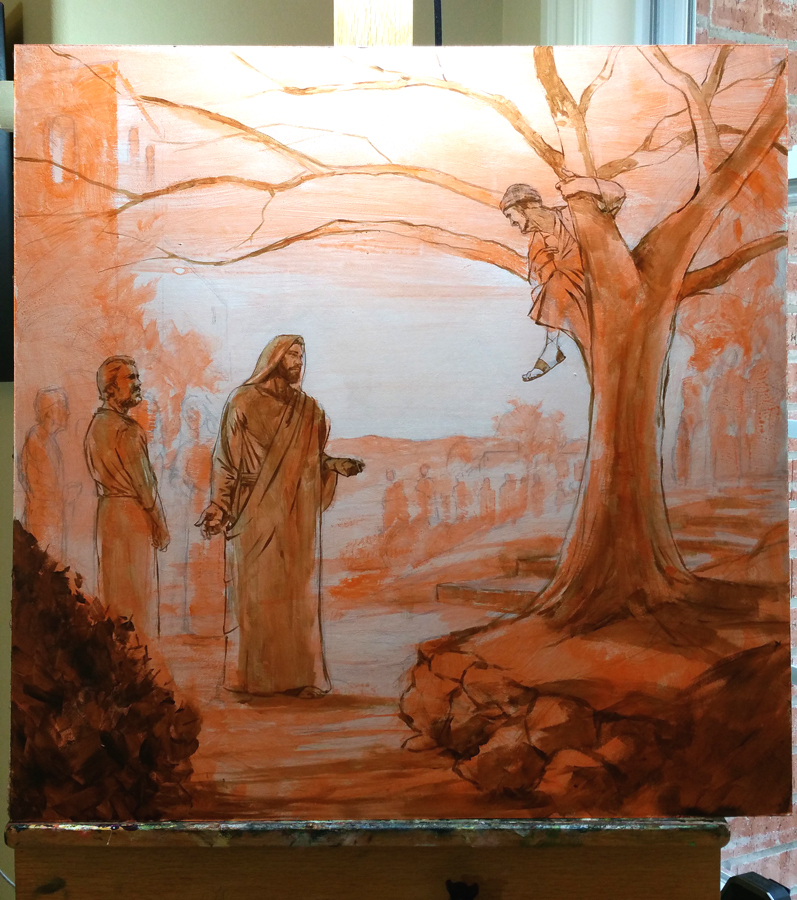
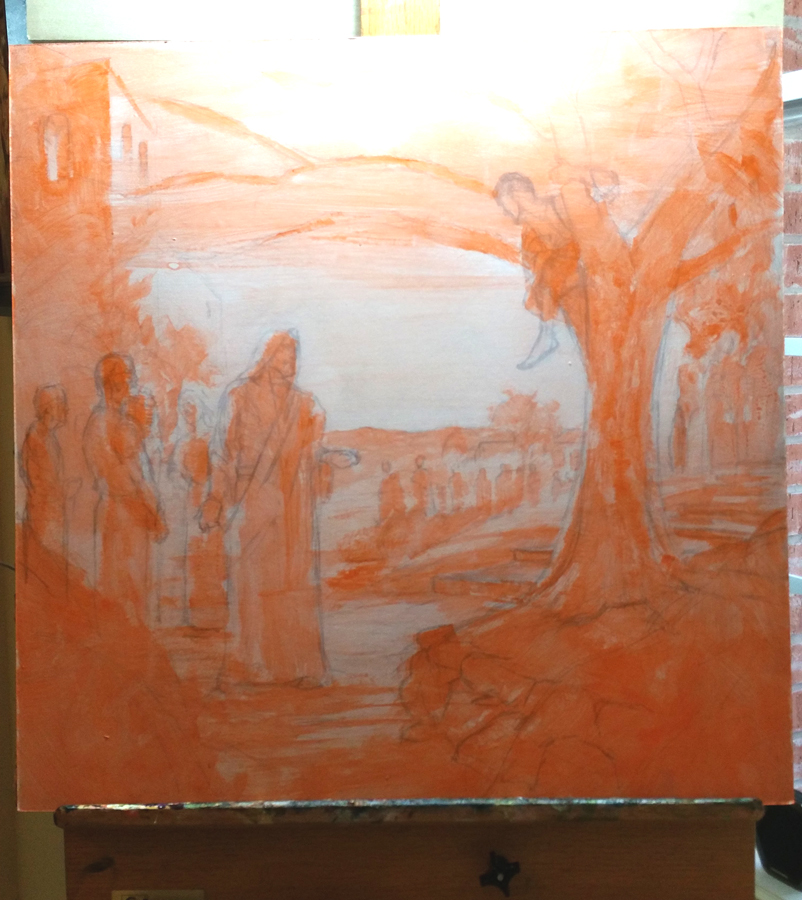 The first stage of painting is using one color, in this case it’s orange, to start laying in the undertone. This is important as it will influence the entire painting. I know ahead of time I want this painting to be a warm, orange tone piece. I plan most of my paintings that way in a series, so each one is a little different from the other.
I lay in the acrylic orange in washes, without using any white paint, with a 1” or 2” brush. After a few minutes this should be dry, and I will move to a smaller brush and work slightly darker, establishing where the darks of the picture will be.
 Now I need to solidify my drawing and continue to develop the values of the painting. I use burnt umber in acrylic and a small round brush to go over the drawing so it doesn’t get “lost” as I paint. In order to achieve “depth” to a picture, I like to think of it much like Disney used for their mulitplane camera. Far distant background, middle ground (area of interest) and foreground (push everything into the picture and invite the viewer inside).
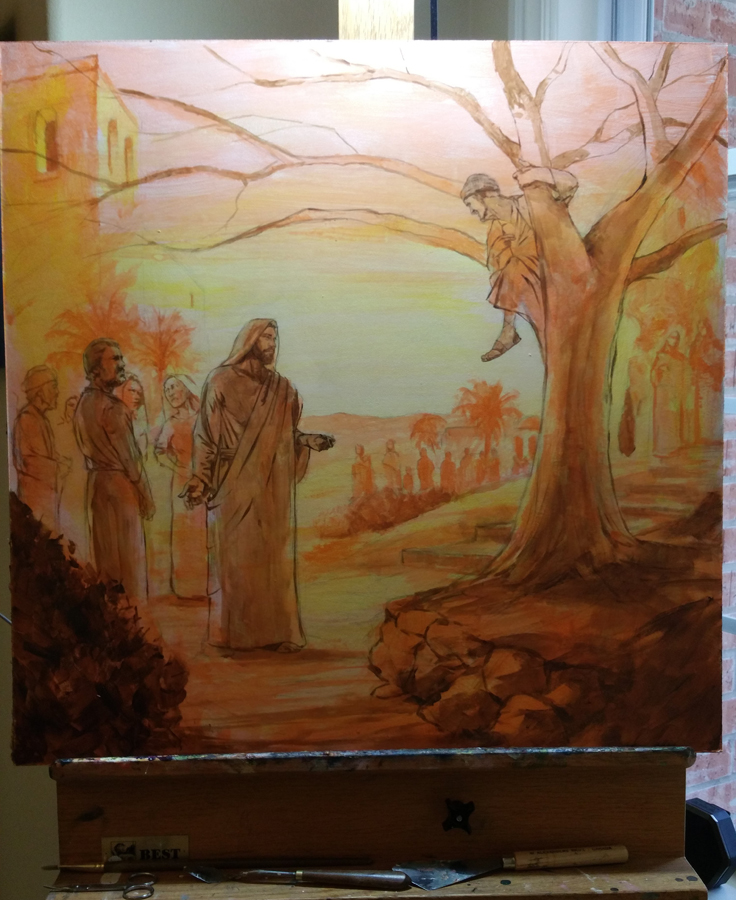 I like the orange, but need it to be warmer, so I wash over the entire painting with yellow acrylic.
Now on to the sky! I really like painting skies. I really think they are the supporting cast to the picture. Skies can set a mood for the whole thing. I choose to keep working in acrylic because I will have to 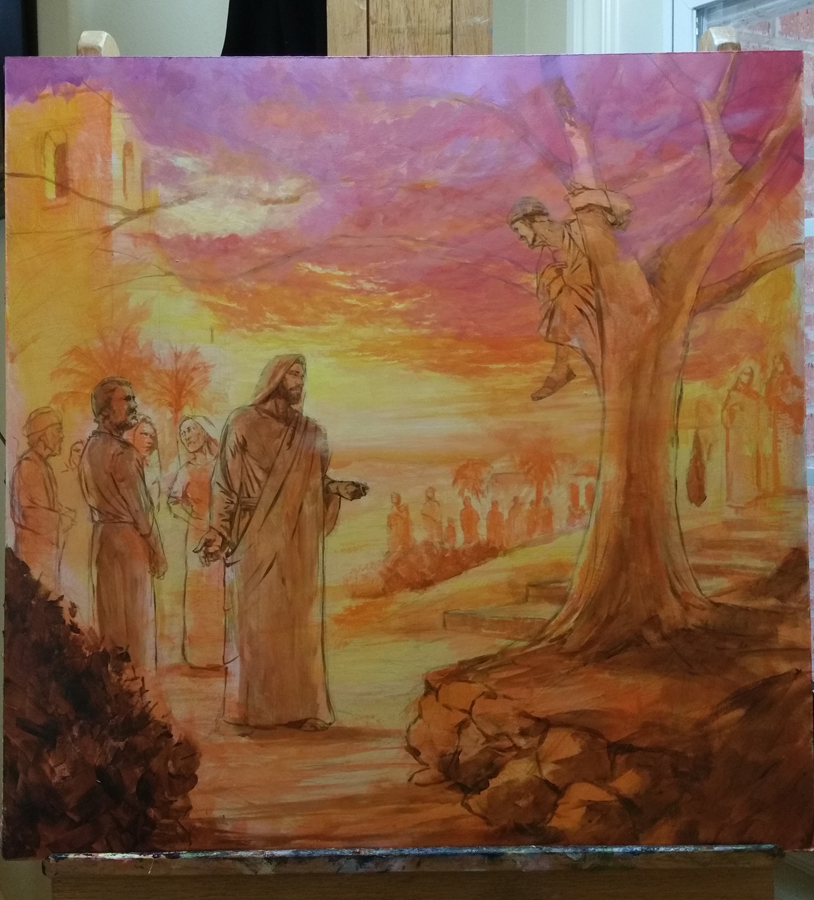 paint a tree over the top of the sky, if I use oils, I would either have to wait for it to dry (I don’t have time) or use a drying agent. I choose to work with acrylics using purple, alizarin crimson, and yellow, and for the first time I will bring out a white acrylic and work in an opaque manner. I have to work pretty fast to blend the acrylics because they dry fast.
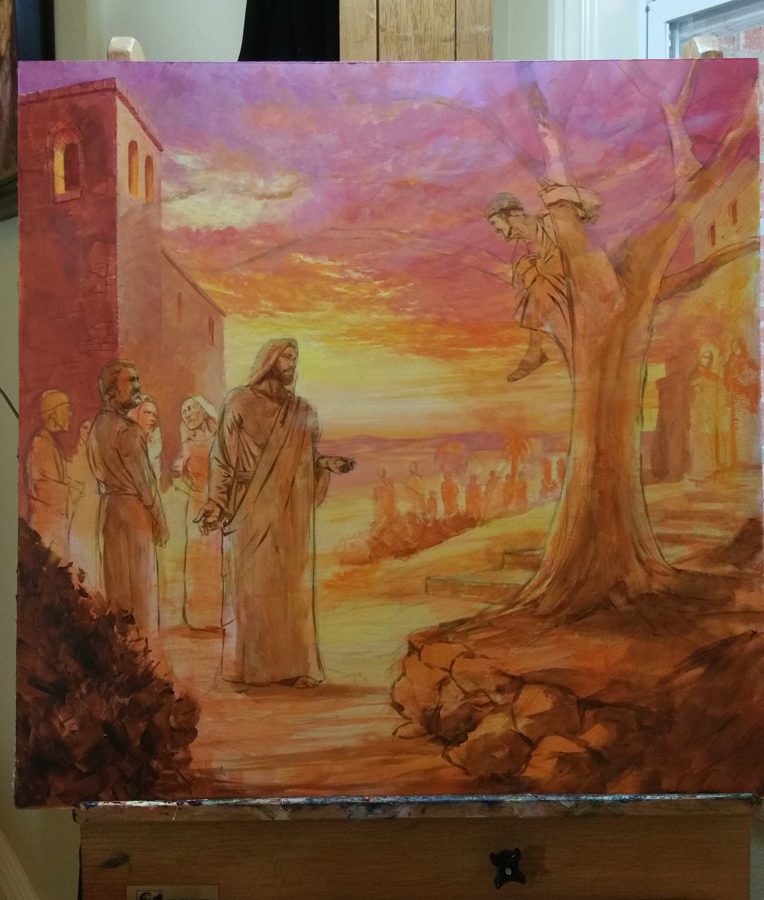 I paint the building with acrylics, since part of the tree will extend to that part as well, I put the acrylics aside. Now on to my favorite part, the oil painting! Stay tuned for part 3, oil painting and finishing the illustration.
In case you missed it part 1, the drawing:
I often get asked how I work, or if I work digitally or traditionally. I work traditionally, not on a computer, I enjoy the craft of the painting process, actually using a brush I can hold and a paint that is tangible. The fact there is no “undo” or magic revert to the process. It’s still an art, not an image of art. When I’m done, I have an actual painting.
I use pencil on prepared masonite panels, with acrylic paint, and then oils. I’d say the acrylic to oil ratio is probably 20% acrylic and 80% oils. I use the acrylics for the quick drying time and for block-in areas.
So I get my assignment which is to pa int Jesus meeting Zacchaeus. I look at all the available art that has been done over the years to portray this event. Some show the perspective of high in the tree over Zacchaeus’ shoulder, which confuses me a bit, as it places the viewer higher in the tree than Zacchaeus. As I wonder how I can paint this picture that hasn’t been seen a dozen times I notice a lot of the pictures look like middle of the day scenery, with blue skies. I get an idea. If I can’t do something completely different with a scene that is familiar throughout all of Sunday School-dom, I’ll just make it a “perdy picture”. I thought it might be nice to make the sky brilliant sunset, since it might be getting close to the evening meal.
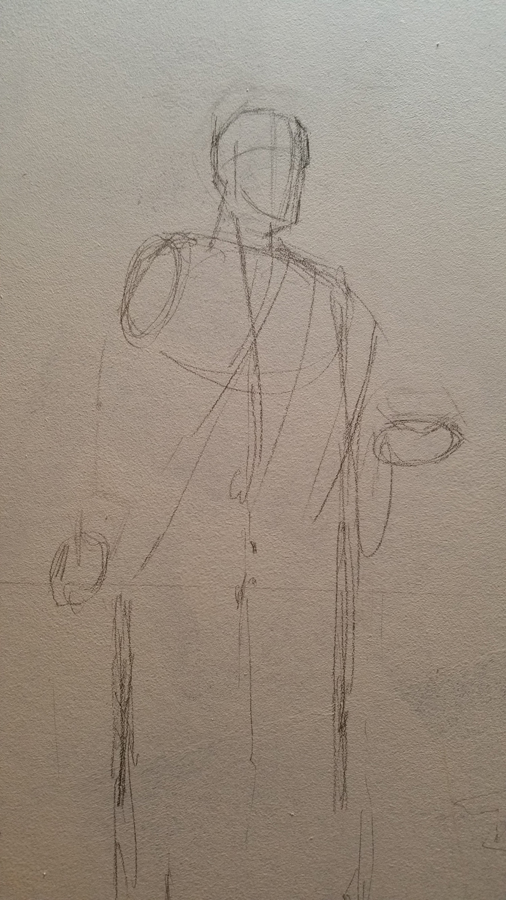
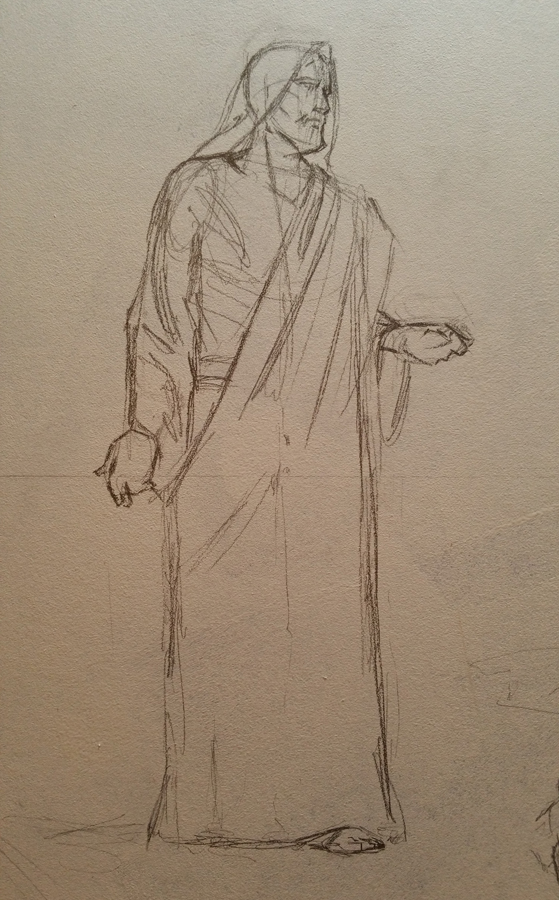
 After I have worked out my composition through thumbnail sketches, I block in the drawing directly on the painting surface. As far as photo reference, I will shoot photo reference, look in a mirror for hand poses, etc., it’s pulling ingredients for my own art soup, so to speak.

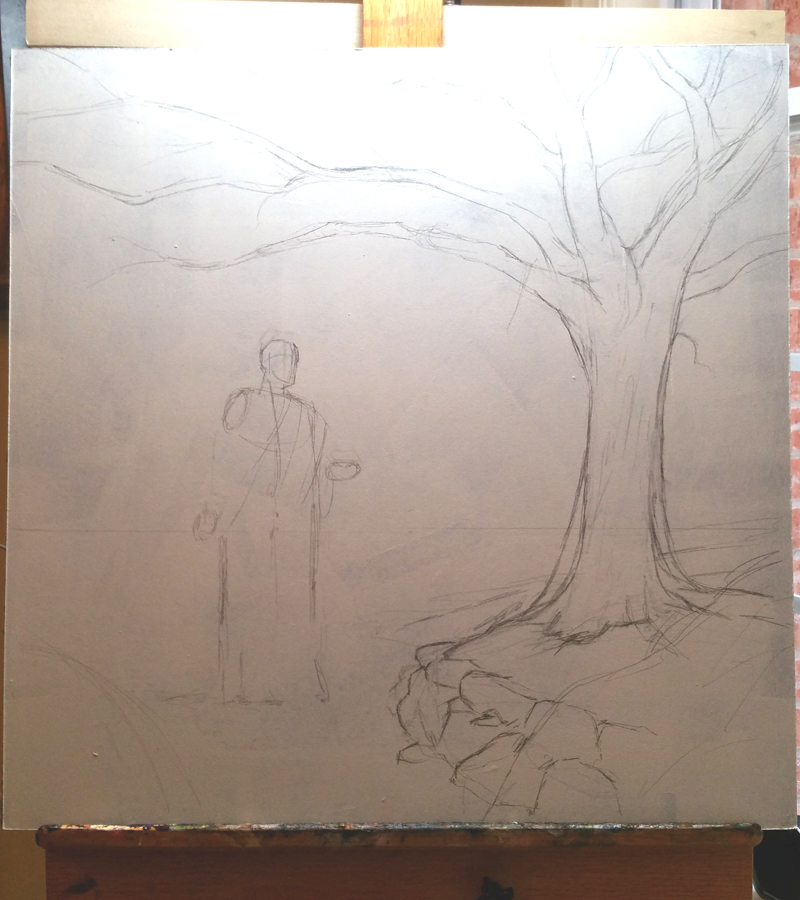
After I have the focal point of the painting, which is Jesus, I draw in the structure of the tree, without leaves (I paint those later). Here I start to achieve some depth to the drawing by showing some stones around a raised bed that might wind through the city. I make sure to leave plenty of open area around the figure of Jesus, this will allow Him to easily be the focal point from a distance.
Using a combo of drawing from references of friends and family, and drawing out of my imagination, I work in the crowd and buildings.
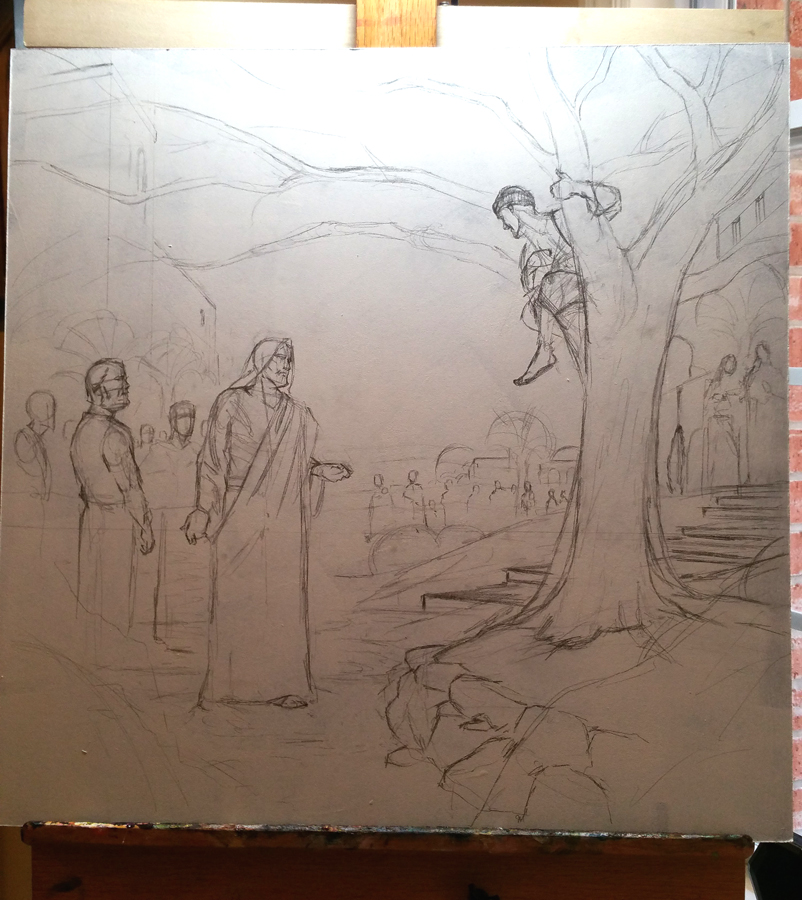 With the drawing to my satisfaction, I will leave it overnight and come back tomorrow with some Acrylic matte medium to seal the drawing and begin painting.
